The Ultimate Amazon A+ Content Guide
Amazon’s A+ Content is a great way to promote your product in a visual and engaging way. But what exactly should you do to make sure your A+ Content looks as good as possible? In this blog, we’ll be covering everything you need to know, from design tips to measuring performance.
What Exactly Is A+ Content?
Amazon A+ Content (previously known as Enhanced Brand Content or EBCs) is a powerful tool available to Amazon sellers/vendors who are brand registered. It is also available to brand owners who sell within Amazon Launchpad or Amazon Exclusives. Combining the visual aspect of product images and the informative side of product descriptions, A+ content allows you to show off the USPs of your product in full-screen modules.
Why Use A+ Content?
Increases Conversion Rates
A+ Content provides another area on your listing where you can convince someone to make a purchase. By increasing the listing’s conversion rates, sales with increase. Amazon states that adding A+ Content to listings can help increase sales by an average of 5% (based on research on 173,000 ASINs over a 90-day period).
Opportunity to Tell Your Brand Story
Telling people your brand story and mission is the perfect way to engage emotionally. Telling customers your mission objective or showing them that your company started through personal experiences helps to build trust, separating you from the generic, unbranded competitors.
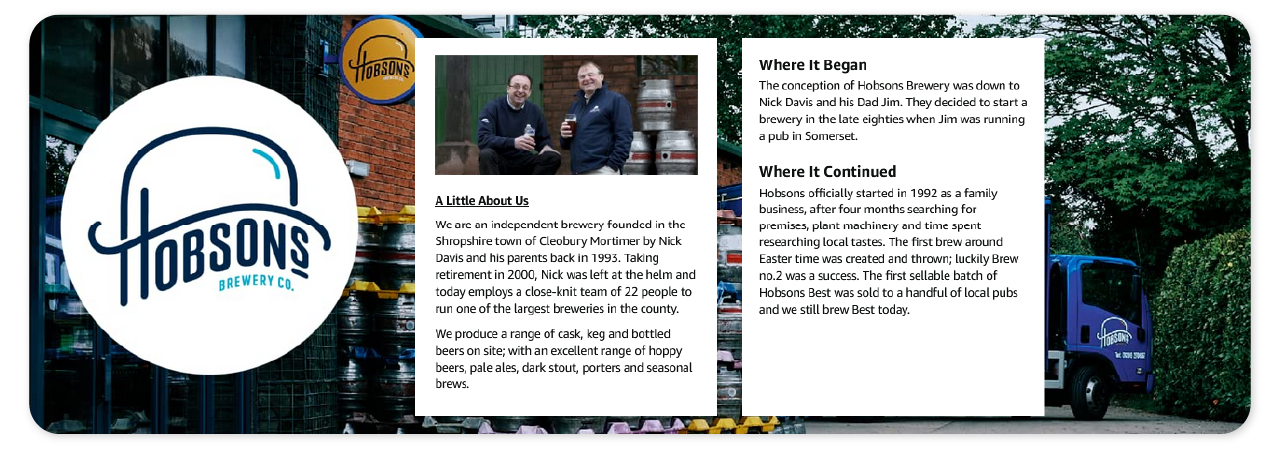
Example of a Brand Story on Amazon for Hobsons Brewery.
Encourages Repeat Purchases
A+ Content provides an opportunity to showcase your brand, message, and product in a unique way. Utilising strong branding on your Amazon listing helps to improve customer trust and increases your chances of receiving repeat purchases.
Customer retention on Amazon is more likely to occur if you put the effort in to stand out from the crowd and make your product look special. Strong branding can have other benefits too.
Using modules such as a comparison table in your A+ Content shows off different products in your range, which encourages customers to try out different variations (for example, different flavoured snacks). This is a great incentive for potential customers who are uncertain about the variation they’ve landed on, or for returning customers looking for something a bit different.
Reduces Negative Feedback & Returns
By providing extra detail about your products, customers gain a more realistic expectation of the level of quality and features. This means that the product they receive better meets their expectation, so they’re more satisfied. Satisfied customers leave positive reviews, and honesty in the listing will reduce disappointment and the overall number of returns.
Tip One – Immersive Images
Images are the core component that make up your A+ Content, so ensuring that you are using suitable images is essential. There are multiple modules that Amazon provides, from full-screen banners to small thumbnails with the option to add text.
Product Images
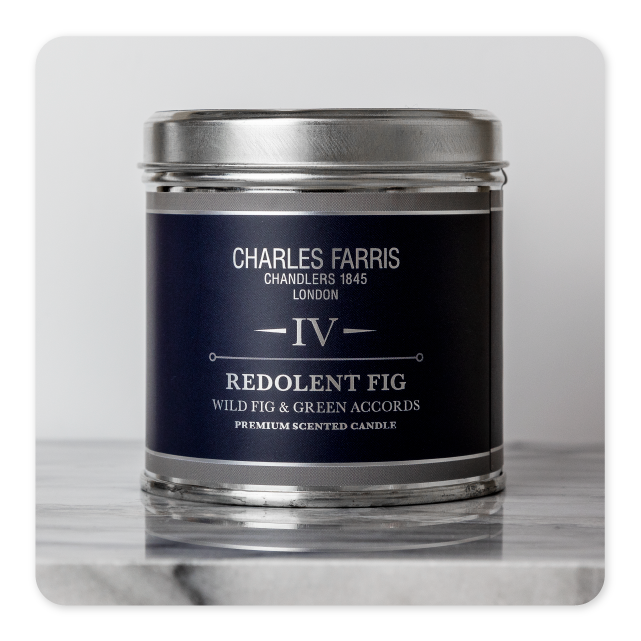
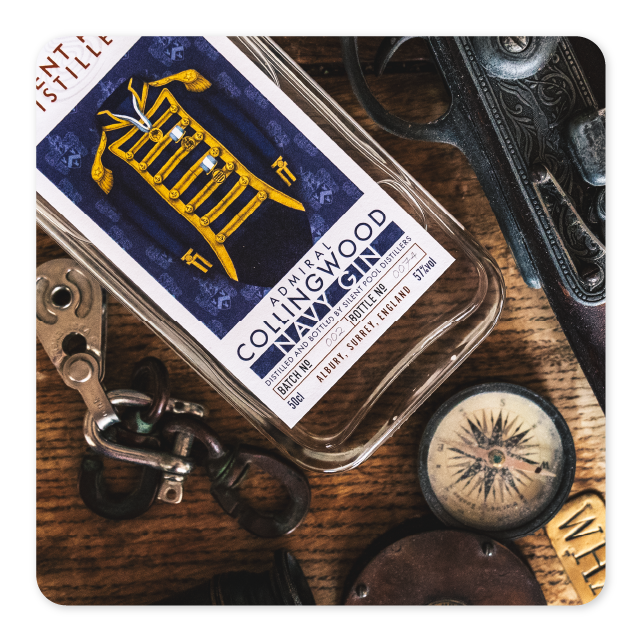
The primary purpose is to further showcase your product to customers. Reusing assets from your main product images is a quick and easy way to create A+ Content. We also recommend adding images you may not have used yet to display the product in more detail and demonstrate the unique selling points it may have, such as alternative colours, features, or functionality.
If you have photos of your product in lifestyle scenarios, these would be perfect for your A+ Content – customers love seeing products in use as it gives a more realistic expectation. It also helps them decide whether they will purchase your product or not, based on factors such as ease of use, where it can be used and what it can be used for.

Outsourcing Photography Services
Image Creation services are a great way to get a variety of high-quality product photos without spending lots of money purchasing your own lighting studio. Visit the Actimerce Image Creation Page for more details on professional imagery at an affordable price.
Tip Two – Aesthetic Infographics
Graphics can add an additional layer of visual detail to your A+ Content, that helps it look more premium and personalised to your brand. Again, reusing assets from your product images is a great way to create A+ Content. However, for those who don’t have existing infographics, sites such as Shutterstock provide thousands of options for icons and image overlays that are easy to customise.
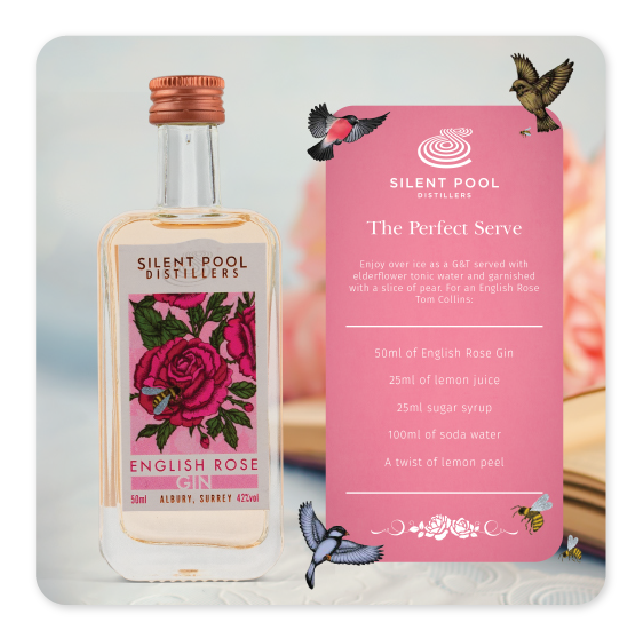
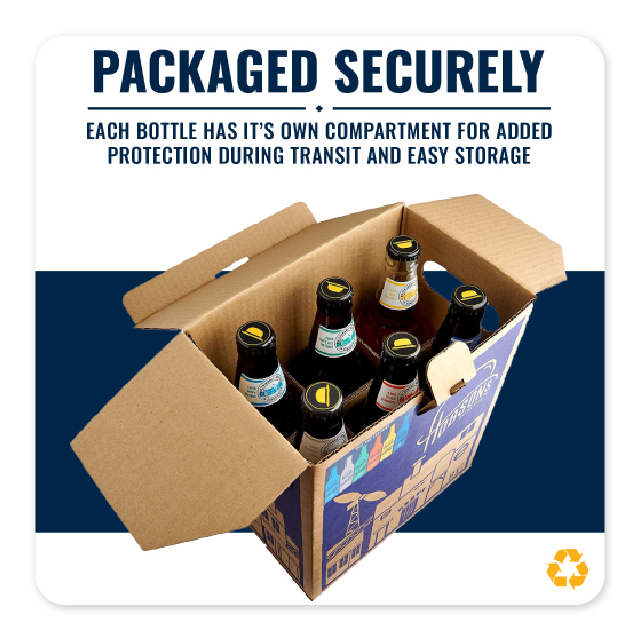
Here are some examples of infographics we have designed for our clients recently.

Tip Three – Consistent Branding
Colour Scheme
Ensuring that you have an effective colour scheme for your A+ Content can have a significant impact on the final product. In a lot of cases, it can be the difference between a visually appealing A+ Content design and a less attractive one.
So how exactly should you decide which colours you should use? Well, you should aim to use a colour scheme that compliments the images you are using. If the colour scheme is vastly different to the colours in your images, the entire A+ Content will look off.
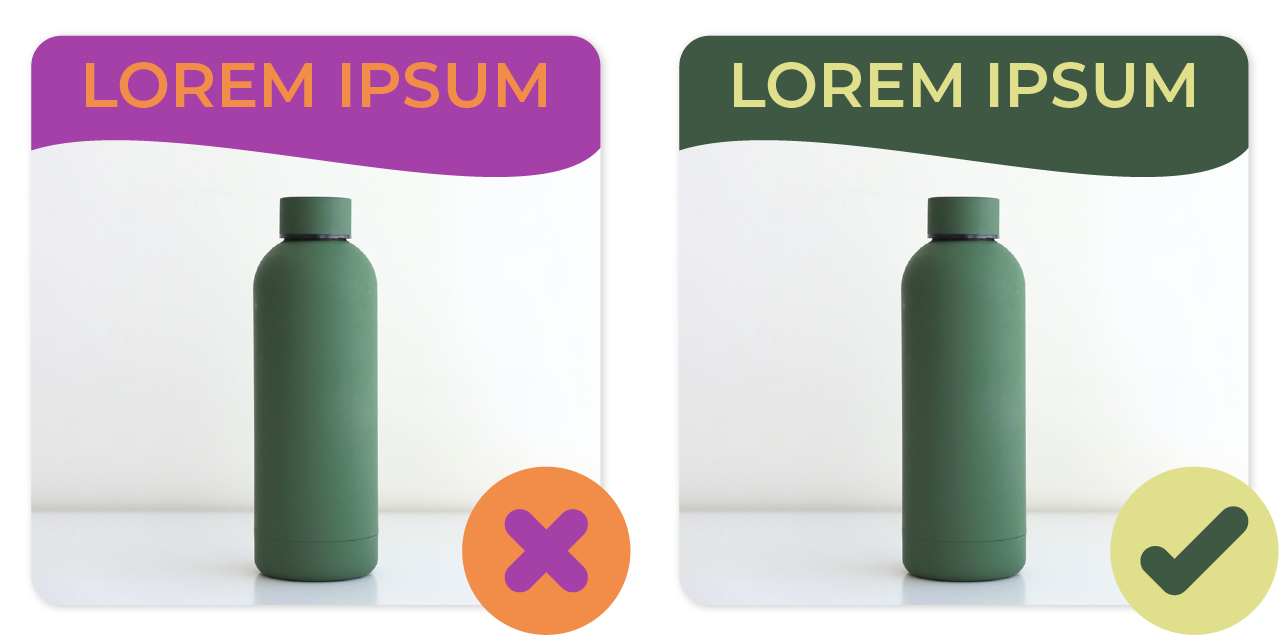
While the purple and orange provide a strong contrast to the green water bottle, they don’t compliment the brand well. A green and yellow colour scheme suits this coloured bottle and gives off an earthy/outdoor gear impression.
Fonts & Typefaces
Each font gives off a different impression, and picking one that’s suitable for your brand is crucial. For example, a company that sells toys for young children may use a playful handwritten font to come across as friendly and relatable, whereas a high-class technology brand may choose a sharper, futuristic font to give the impression of innovation.
Wording
Similar to fonts, brand voice and tone vary drastically between the types of companies. Brands such as Nike have an inspirational and motivational tone in their content, whilst Mailchimp have chosen a more playful and informal voice (especially on their Twitter).
Choosing the tone of voice for your brand should mostly come naturally to you based on what you are selling. We recommend adding a slight persuasive yet informative tone to your A+ Content, to help customers make the decision to purchase your product, and not a competitor’s. This leads to our fourth tip for creating great A+ Content.
Tip Four – Relevant & Informative Text
Despite A+ Content being a primarily visual feature focusing on the image side, there are plenty of modules which allow for text to be included. Whilst you don’t need to have text accompanying every module, it’s a good idea to have text scattered throughout your A+ Content. When choosing what to write in your text box, you should aim to make the text relevant to the image accompanying it. If the image shows someone performing a certain task with your product, use the text box to describe how your product helps them with this process.
As mentioned earlier, adding text can help with keyword ranking for external search engines such as Google and Bing. It also makes your A+ Content more mobile-friendly, which is essential for reaching the 42% of Amazon shoppers who use the mobile app.
Tip Five – Organised Layout
Once you have created your images and graphics and have decided what text you are going to use, you need to decide how you are going to present these assets on the product page. Amazon provides a number of different module templates for you to choose from. Alternatively, you can create your own template by combining individual modules together.
Many companies will have some form of header to introduce the brand or product, a footer to end the content, and a mix of different “image with text” modules in between. However, how you choose to present your assets is completely up to you.
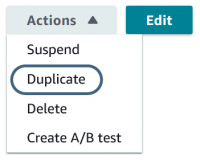
We recommend creating the layout you desire, then using Amazon’s ‘duplicate’ button to create A+ Content for other listings in the same format as the previous.
How to Submit A+ Content to Your Products
1. Log into your Seller Central Account.
2. Using the drop-down menu, click Advertising > A+ Content Manager.
3. Click ‘Start creating A+ Content’.
4. Click ‘Create Basic’ to start creating Basic A+ Content.
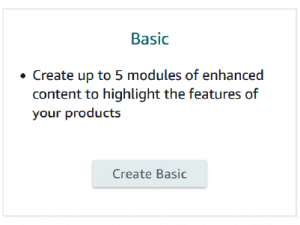
5. Type a name for this A+ Content – We suggest putting the name of the product you wish to make this content for, followed by the production variation and ‘BASIC’ (e.g., 150g Candle – Fresh Linen BASIC. This helps for retrieval in the future when you have content applied to multiple ASINs).
6. Create your A+ Content. Use our professional tips to create an optimised, aesthetic A+ Content for your listing. Remember to press ‘Save as Draft’ regularly to save progress and preview a desktop and mobile render.

7. After clicking ‘Next: Apply ASINs’, paste any ASINs from your brand catalogue that you wish to apply this A+ content to and click ‘Apply Content’
8. Select ‘Next: Review & submit’ and once you are happy with how everything looks, click ‘Submit for approval’.

Submitted content takes up to 24 hours to be reviewed and approved an Amazon member – progress can be tracked via the content status column on the right.
Conclusion
A+ Content is a powerful listing feature that allows for lots of creative freedom. It’s a great way to show off your products in more detail than the standard product images, and with features such as the brand story and comparison tables, you can display a wide range of your products on the one single listing – for free.
With over 10 years of e-commerce experience, our professional advice is to focus on creating high-quality, engaging content that converts, rather than rushing and compromising on quality of work.
Actimerce provide a wide variety of e-commerce services, from infographic design and photography to market research and PPC advertising. Contact us today to upgrade your performance online.


